‘Lovely As A Tree’
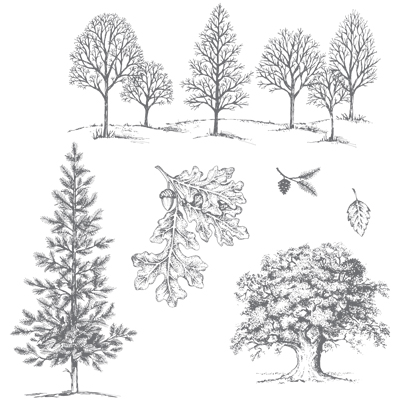
Hello and welcome to this weeks blog. How are we enjoying the weather, here in the UK? Is it hot enough for you? This week I would like to share two cards with you, using the ‘Lovely As A Tree’ stamp set. These are both inspired by cards I have seen on the internet. I did both these cards at my recent ‘Cuppa and Cards’ event. I hold these events weekly on a Monday afternoon, for more information click my events.
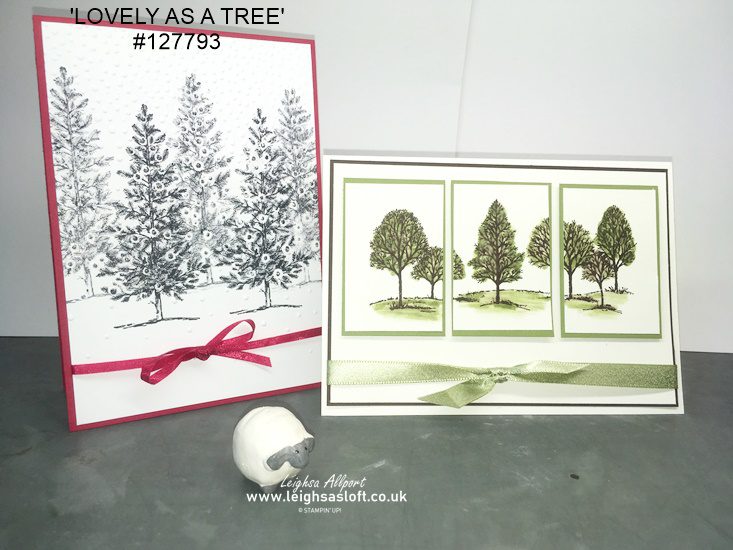
The ‘Lovely as a Tree’ stamp set is very versatile and can be used for many an occasion. I wanted to show this at my event, so decided on a Male card and a Christmas card. Both could be used for either occasion by just swapping the colour combinations.
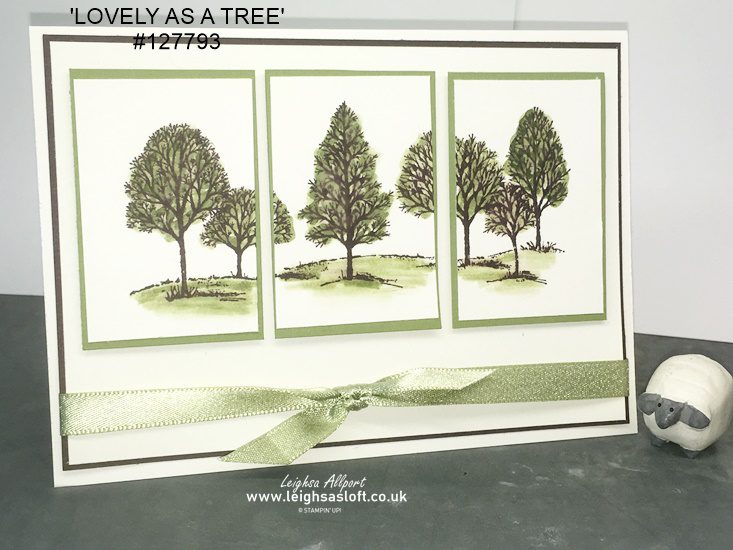
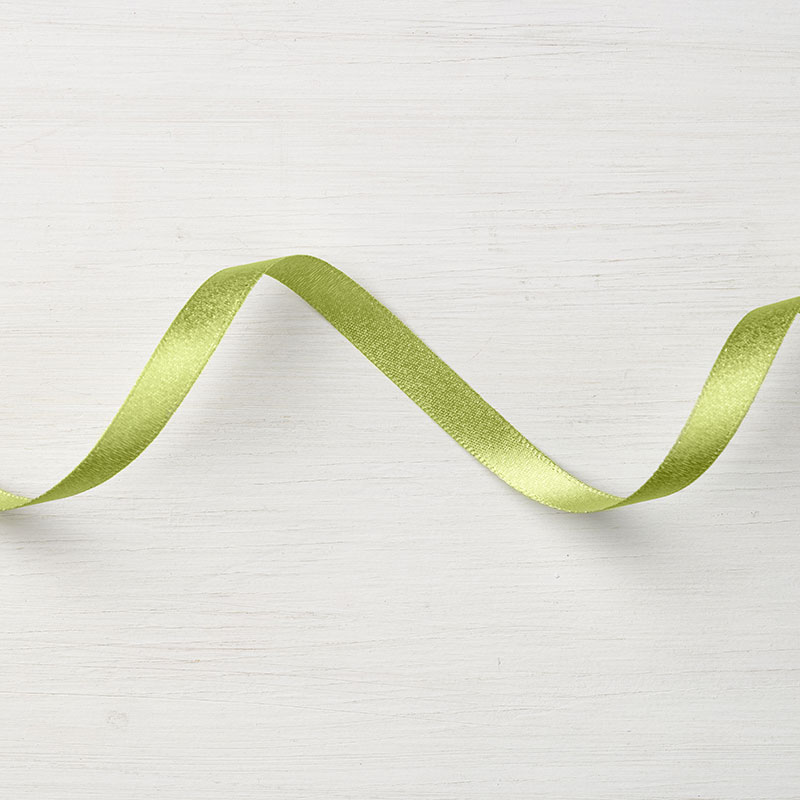
My first card uses ‘Very Vanilla’, ‘Early Espresso’, ‘Old Olive’ and ‘Pear Pizzazz’. Create a ‘Very Vanilla’ A6 card base, cut an ‘Early Espresso’ and ‘Very Vanilla’ layer, cutting each one slightly smaller than the previous. Adhere the ‘Very Vanilla’ layer onto the ‘Early Espresso’ layer and wrap with ‘Pear Pizzazz’ shimmer ribbon, tying into a knot on front. Take a piece of ‘Very Vanilla’ card stock 12cm x 6cm and stamp with the group of trees image in ‘Early Espresso’ ink, shade using ‘Old Olive’ and ‘Pear Pizzazz’ ink and a blender pen. Cut into three pieces, each 4cm wide, layer these onto ‘Old Olive’ card stock. Adhere onto the layers using ‘Dimensionals’ and adhere onto card front with glue.
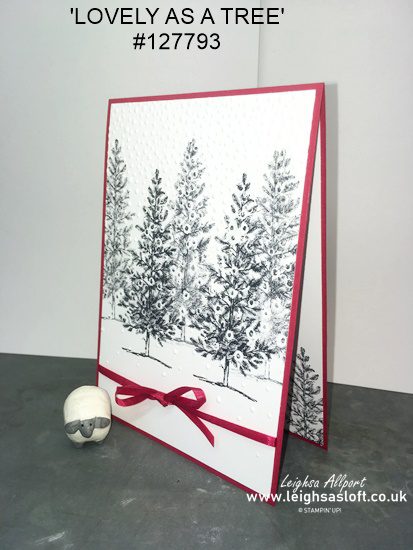
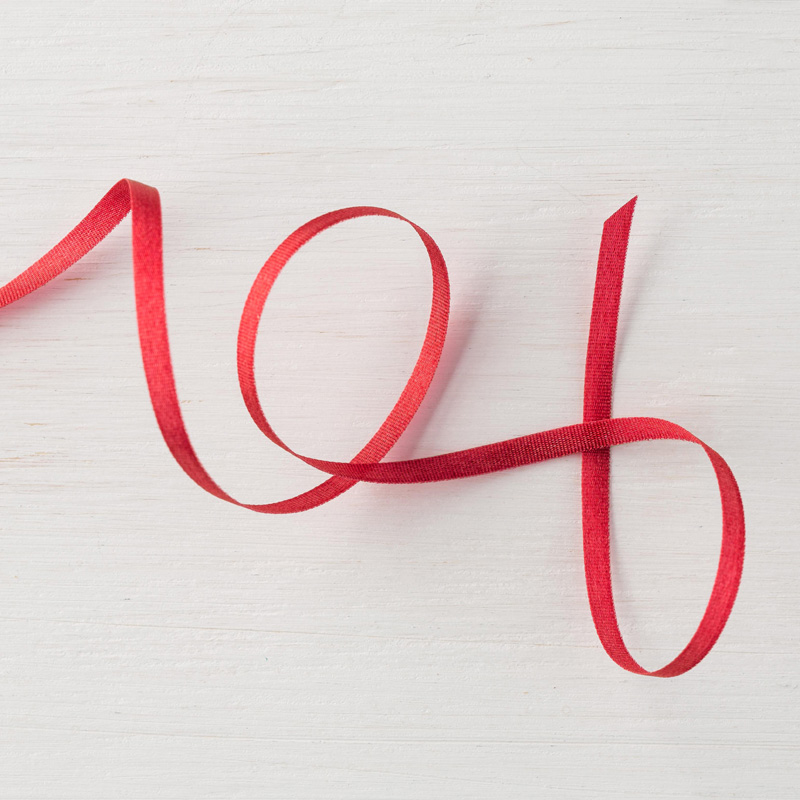
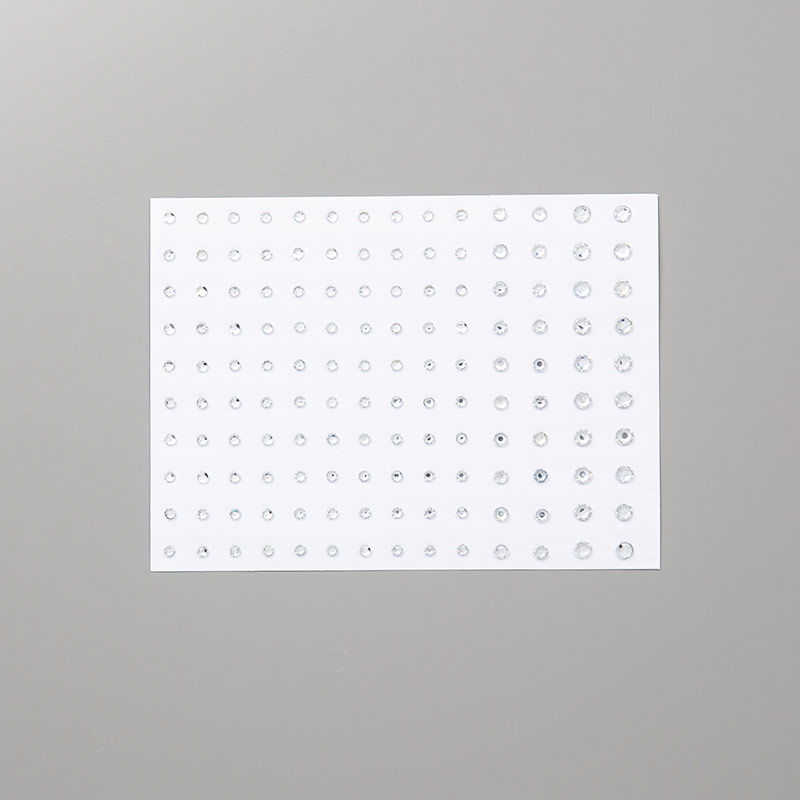
For my second card and my first Christmas card this year, take a ‘Real Red’ A6 Card base and cut a ‘Whisper White’ layer slightly smaller. Stamp the large, single pine tree image in ‘Basic Black’, several times. Do this using first generation stamping for the front trees and second generation stamping for the trees that you wish to appear behind, run through the ‘Bigshot’ using the ‘Softly falling’ embossing folder. Wrap with ‘Real Red’ solid ribbon and tie in a bow. Adhere to the front of your card base. Finish with some ‘Clear Rhinestones’.
Thank you for visiting and I hope you enjoyed the projects, A full list of all items used is listed below. All are available in my shop.
Happy Crafting


