
Hello and welcome to the March Tech 4 Stampers blog hop. This month we are all about flowers and with Spring being just around the corner, what could be better. I wanted to create a Floral Plaque as a gift for a friend. We all have lots of floral stamps, papers and dies, that we use regularly for our cardmaking, scrapbooking, but have you ever thought about using them to create a 3D Floral Plaque? This can be a beautiful addition to your own home or used as a fabulous gift for a friend or family member.
With our theme being flowers, I just had to use the Paper Florist Dies. These dies can create a full range of flower types, depending how you fit the pieces together. For my floral plaque, I have kept it quite simple, using only two sets of petal dies and two foliage dies.
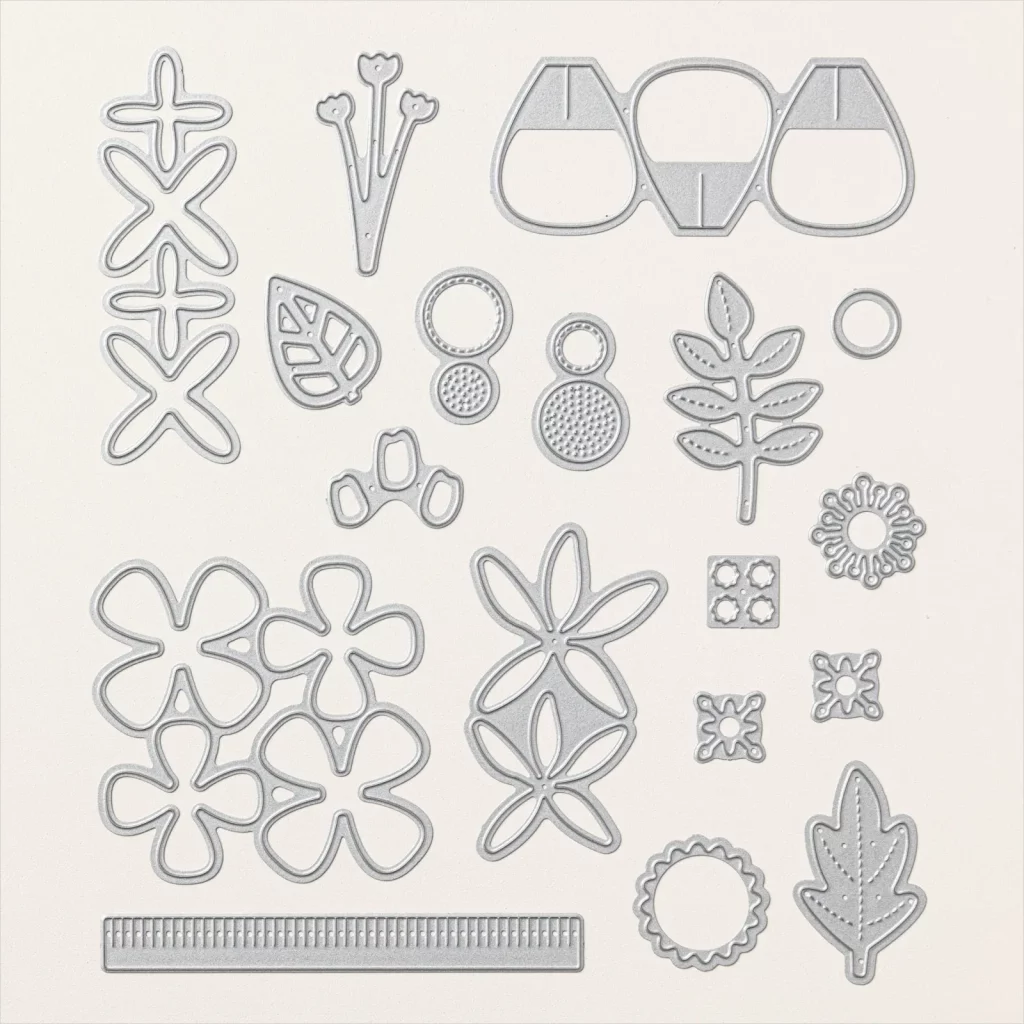
Creating your 2D Floral Plaque
Using a sponge dauber or blending brush, Old Olive and Early Espresso ink add colour to your chosen plaque. I added more around the edges. Allow to dry whilst die cutting. (I purchased my plaque from a local craft store.)
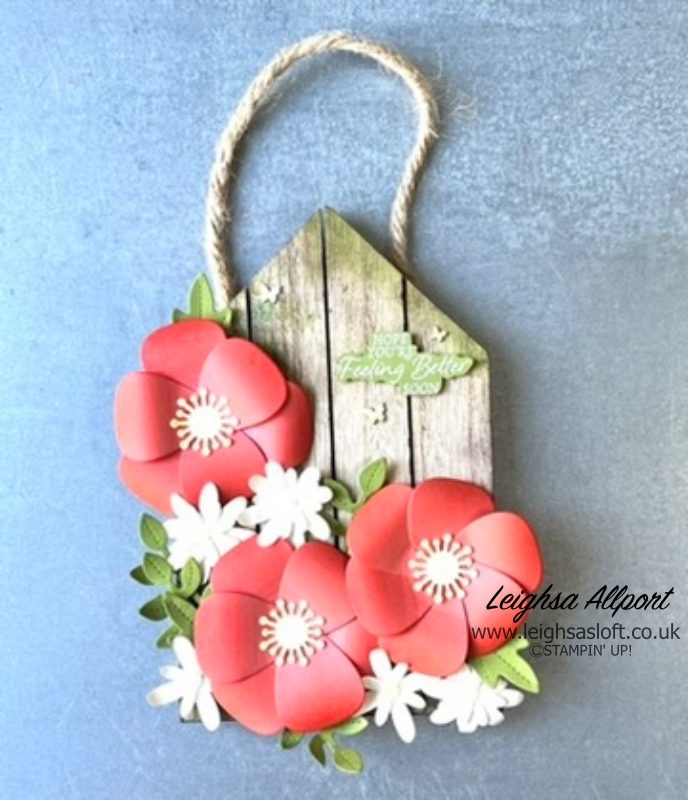
For your three large flowers, die cut two sets of the large petals for each flower, using Calypso Coral cardstock. Use a blending brush and Calypso Coral ink to add shading to the edges of your petals. Add dimension by curling the petals with your bonefolder. Adhere your petals together using mini glue dots. For two of my flowers, I have glued them together in two layers of three and the other I layered round in a circle. Die cut centers for your flowers using Lemon Lolly cardstock and adhere to your flowers.
For your five smaller flowers, die cut one set of the four X type petals for each flower, using Very Vanilla cardstock. Using your bonefolder, curl the petals both forward and some backwards. Layer together, using mini glue dots, and offset the petals. For two I have only used two layers and not all four. This just gives a different look. Die cut centers for each flower from Lemon Lolly cardstock and adhere into place.
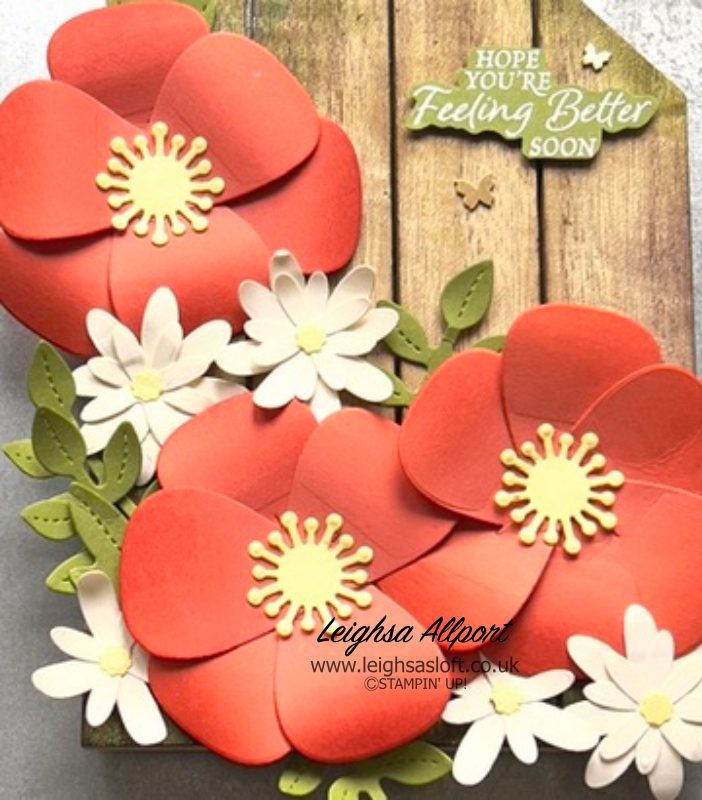
Using Old Olive cardstock, die cut several leaves and foliage pieces. I have used three of the single leaf and four of the multi leaf. Add dimension to these with your bonefolder.
Arrange your flowers on your plaque and adhere into place using mini glue dots and Stampin’ Dimensionals. Fill in any open areas with your leaves and adhere into place with mini glue dots.
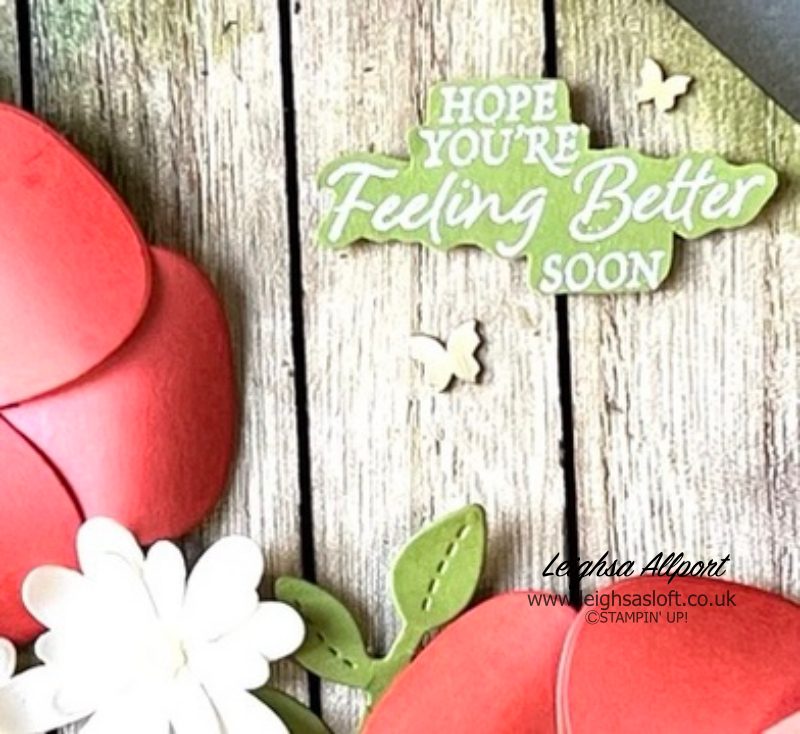
To finish up your floral plaque, heat emboss a sentiment in white onto Old Olive cardstock and trim to size. Add using dimensionals and embellish with several Brushed Brass Butterflies.
I do hope you have found some inspiration with me. All products used (excluding plaque) are listed below and available to purchase from my online shop.
Please do continue to hop round for lots more inspiration.
Happy Crafting

FREE Tutorial Bundle with ALL orders
When shopping online, receive a free tutorial for 8 cards!
Learn more.
- JOINING OFFER– Stampin’ Up! Starter Kit, choose 175€ I £130 worth of product for only 129€ I £99! You will also receive a free business supplies pack and free shipping on your Starter Kit—not to mention all the fun that comes with being part of Stampin’ Up! Plus, enjoy discount on future purchases, and have lots of fun with new friends.
- Grab a bargain at the LAST CHANCE PRODUCTS – Up to 60% off normal prices, while stocks last.
- Visit my ONLINE STAMPIN’ UP! SHOP to browse all the various products on offer, including Online Exclusives and Kits Collection.
- Why not follow me on Facebook for lots of crafty inspiration and weekly lives – Leighsa’s Loft.




Wow, that’s stunning Leighsa! love the colours and arrangement of the flowers.
What a fabulous home decor project. Tfs.
Gorgeous!
Love your idea it looks amazing