Hello, we are halfway through August, and it is time for the Stamptastic Friends Blog Hop. This month we are sharing colouring techniques. Stampin’ Up! offer many colouring mediums and tools. From inks to watercolour pencils and blending brushes to sponge daubers. There is something for every style of crafter.
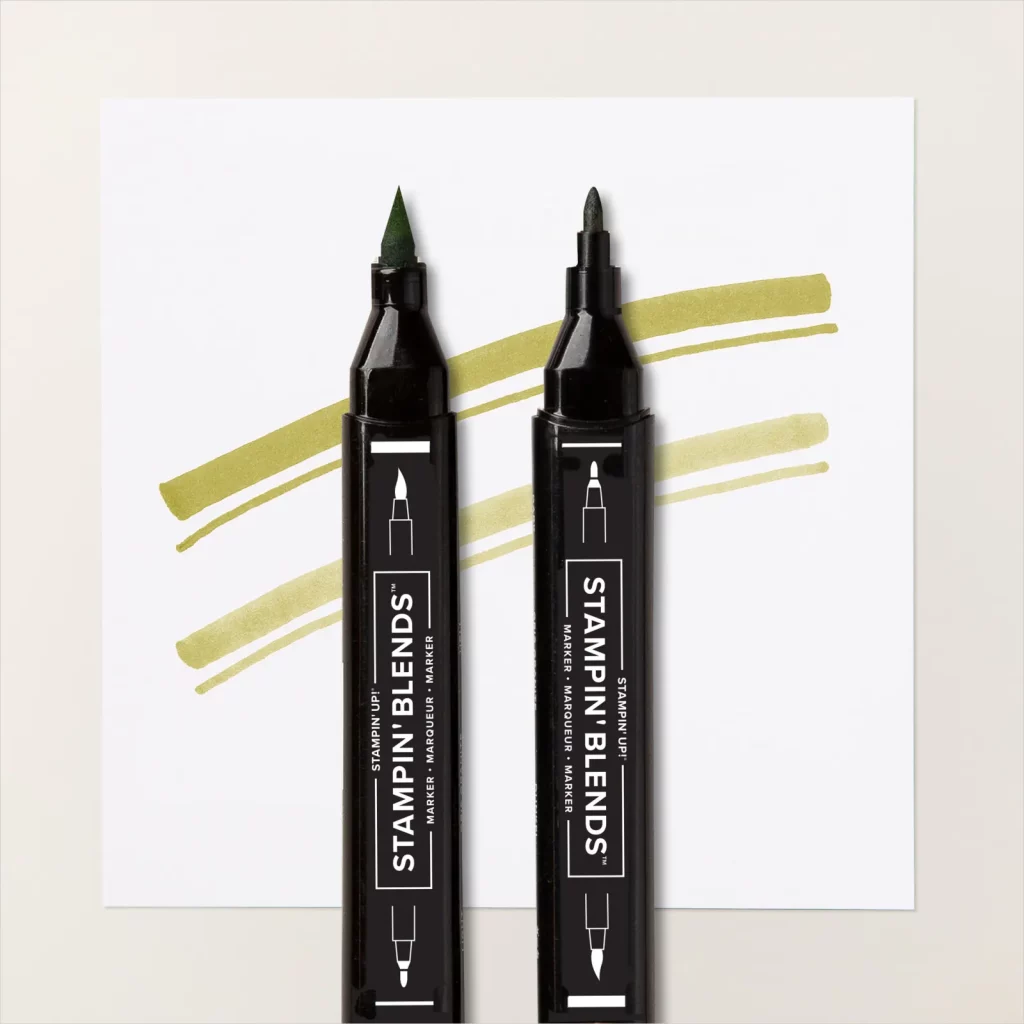
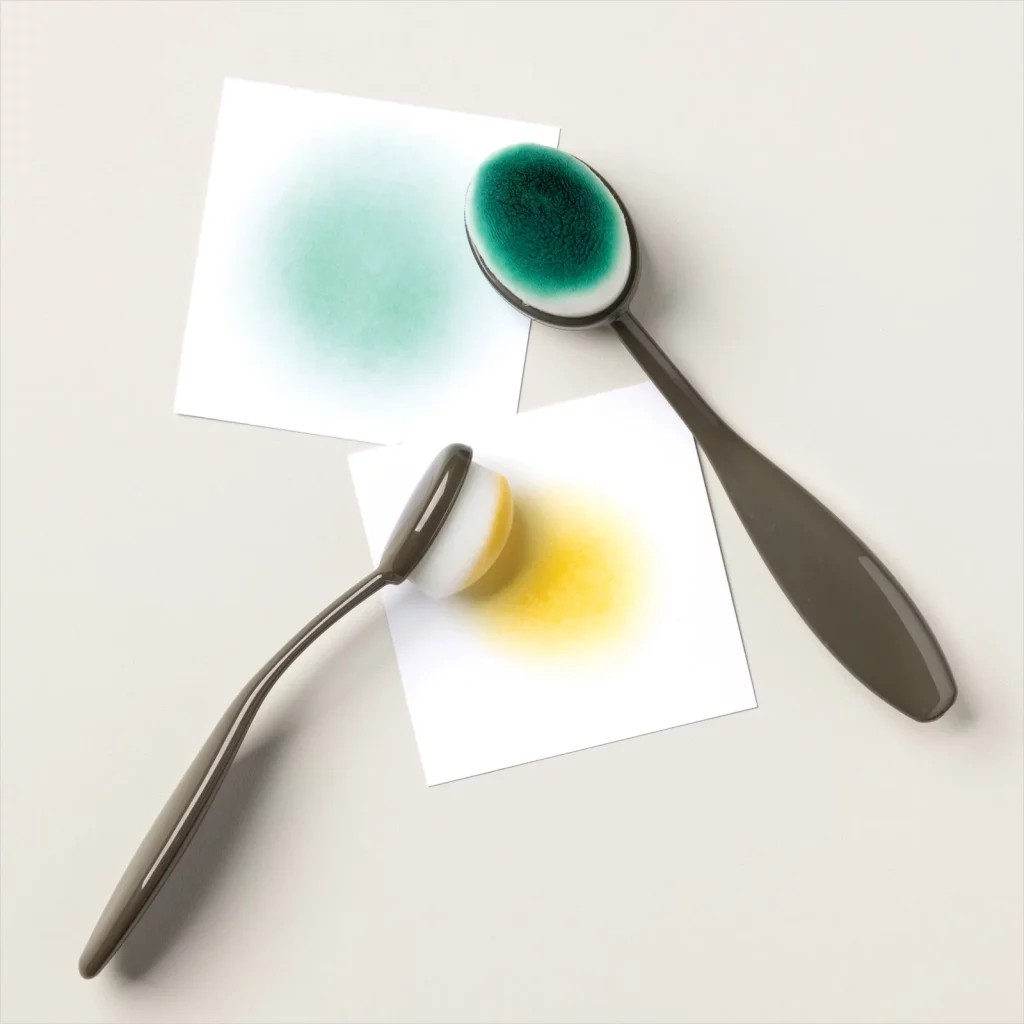
I have chosen two simple colouring techniques for my card. The first is using ink, blending brush and a mask to add colour to a certain area on my card. The second uses Stampin’ Blends to add colour and shading to my stamped image. Both of these are easy to learn and can be used to create a variation of finished projects.
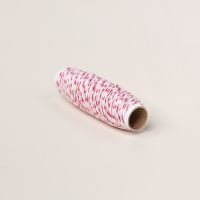
Below you will see a sneak peek of new images, sentiment and products coming in September with the release of the Mini Catalogue! The Dear Santa and Falling Snow stamps and the Real Red & White Baker’s Twine.
Two Simple Colouring Techniques
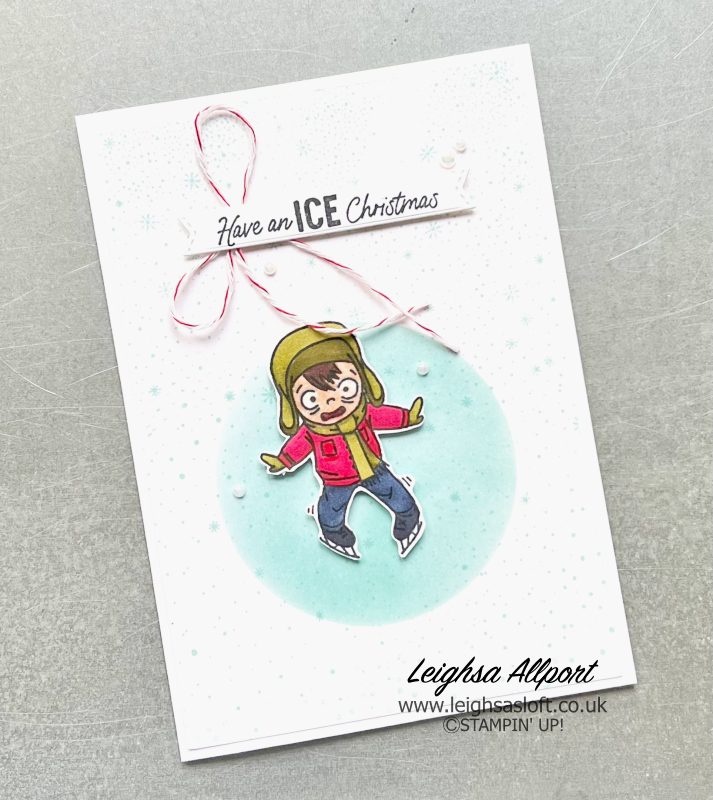
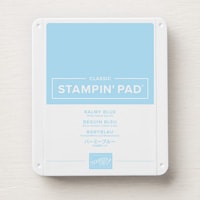
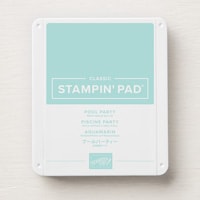
Trim two pieces of Basic White cardstock to 10cm x 14.4cm. Using one of the pieces and a cirle die, I used the third largest from the Spotlight On Nature Dies, die-cut a circle from the lower half. You will use this as a mask to create your ice rink. Place your mask on top of your other piece and tape down. Use a blending brush with Pool Party and Balmy Blue ink, blend through the circle. Add colour until you are happy with the coverage. Remove your mask, you can use this again for another project. Stamp the Falling Snow background onto your card front with Pool Party ink.
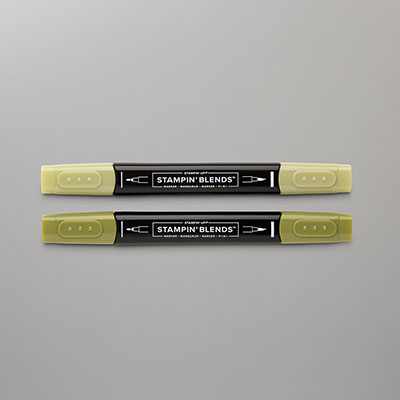
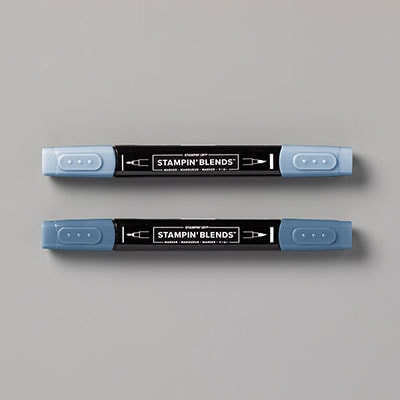
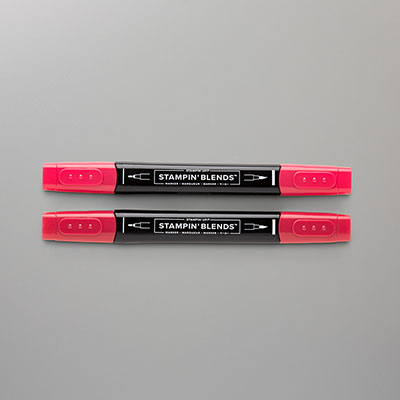
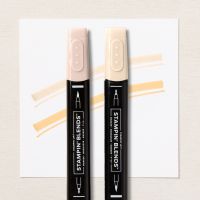
Using Memento Tuxedo Black ink, stamp your ice skater image onto Basic White cardstock. Colour your image using Old Olive, Misty Moonlight, Real Red Stampin’ Blends combos. Use the darker of the two to add shade and create depth. I put down my darker shade first then go over with the light until it blends, some people chose to put down the light first and add dark then light again to blend. Practice to find which you feel more comfortable with.
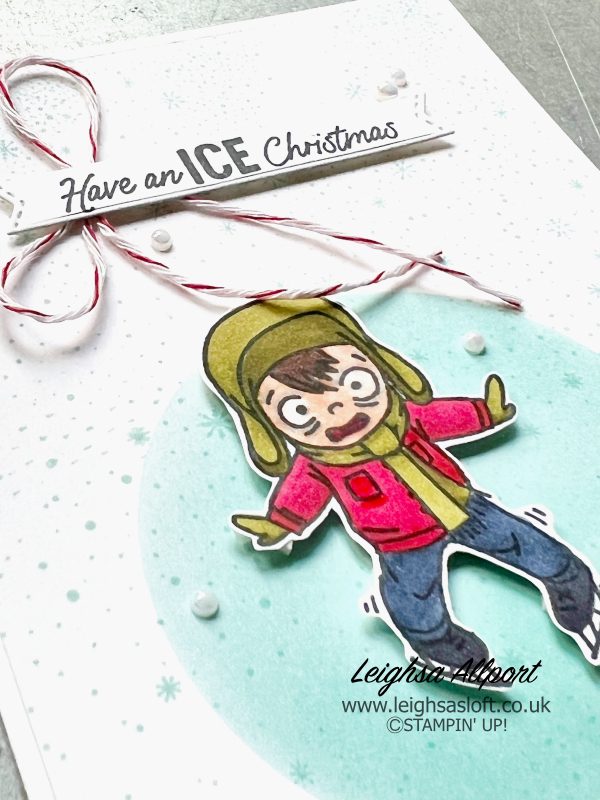
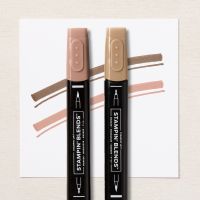
I also used Stampin’ Blends Deep Combo for the hair and Medium Light Combo for the face. Once you are happy with the blending, fussy cut your image and add to your card front using Stampin’ Dimensionals.
Stamp your sentiment on Basic White cardstock, using Memento Tuxedo Black ink. Die-cut or trim to size, I used the Happy Little Things Dies. Tie a bow with the Real Red & White Baker’s Twine and adhere to the rear of your sentiment with a Mini Glue Dot. Using Stampin’ Dimensions, add your sentiment to your card front.
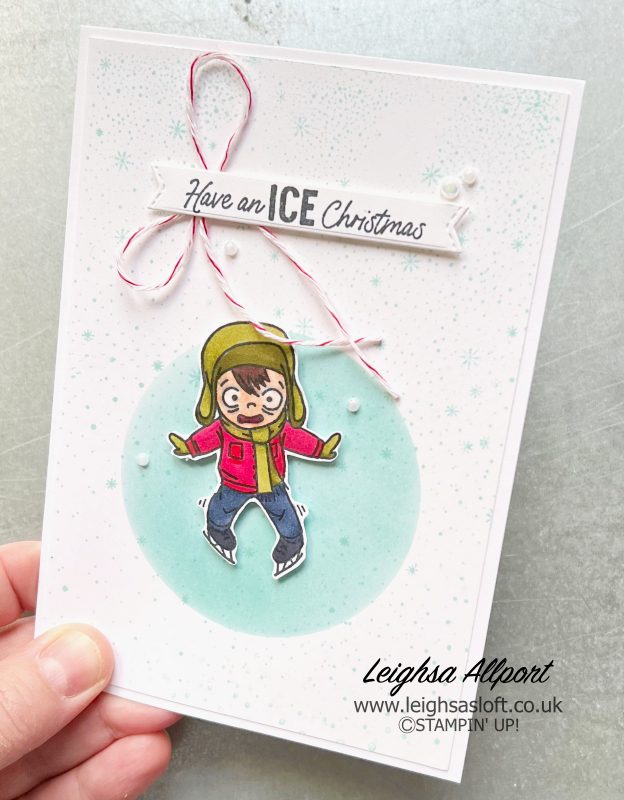
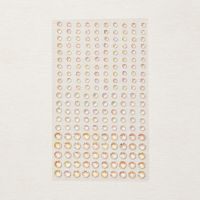
Create an A6 cardbase, measuring 10.5cm x 14.9cm, using Basic White Thick cardstock. Adhere your card front to your cardbase using Multipurpose Liquid Glue. Finish your card by adding several Iridescent Pearls Basic Jewels.
I hope I have inspired you to try these simple colouring techniques, all the products used are listed below and available to purchase from my online store.
Please do continue to hop round for lots more creativity and inspiration. I can’t wait to see what the other demos have chosen to share with you.
Happy Crafting

FREE Tutorial Bundle with ALL orders
When shopping online, receive a free tutorial for 8 cards!
Learn more.
- JOINING OFFER– Stampin’ Up! Starter Kit, choose 175€ I £130 worth of product for only 129€ I £99! You will also receive a free business supplies pack and free shipping on your Starter Kit—not to mention all the fun that comes with being part of Stampin’ Up! Plus, enjoy discount on future purchases, and have lots of fun with new friends.
- Grab a bargain at the LAST CHANCE PRODUCTS – Up to 60% off normal prices, while stocks last.
- Visit my ONLINE STAMPIN’ UP! SHOP to browse all the various products on offer, including Online Exclusives and Kits Collection.
- Why not follow me on Facebook for lots of crafty inspiration and weekly lives – Leighsa’s Loft.










Great Christmas card and a great way to show how to colour in images.