Hello, it is time for the Stamptastic Friends Blog Hop. This month we are CASEing a friend! Many people ask what CASE means or stands for. Stampin’ Up!® say Copy And Share Everything, this is what I go with always making sure I give credit to the creator. Many say Copy And Selectively Edit, which many of us do and again always giving credit. You can choose to go with either or both. My card today is both as I didn’t have the products used to create the card I am CASEing so I have used what I have.
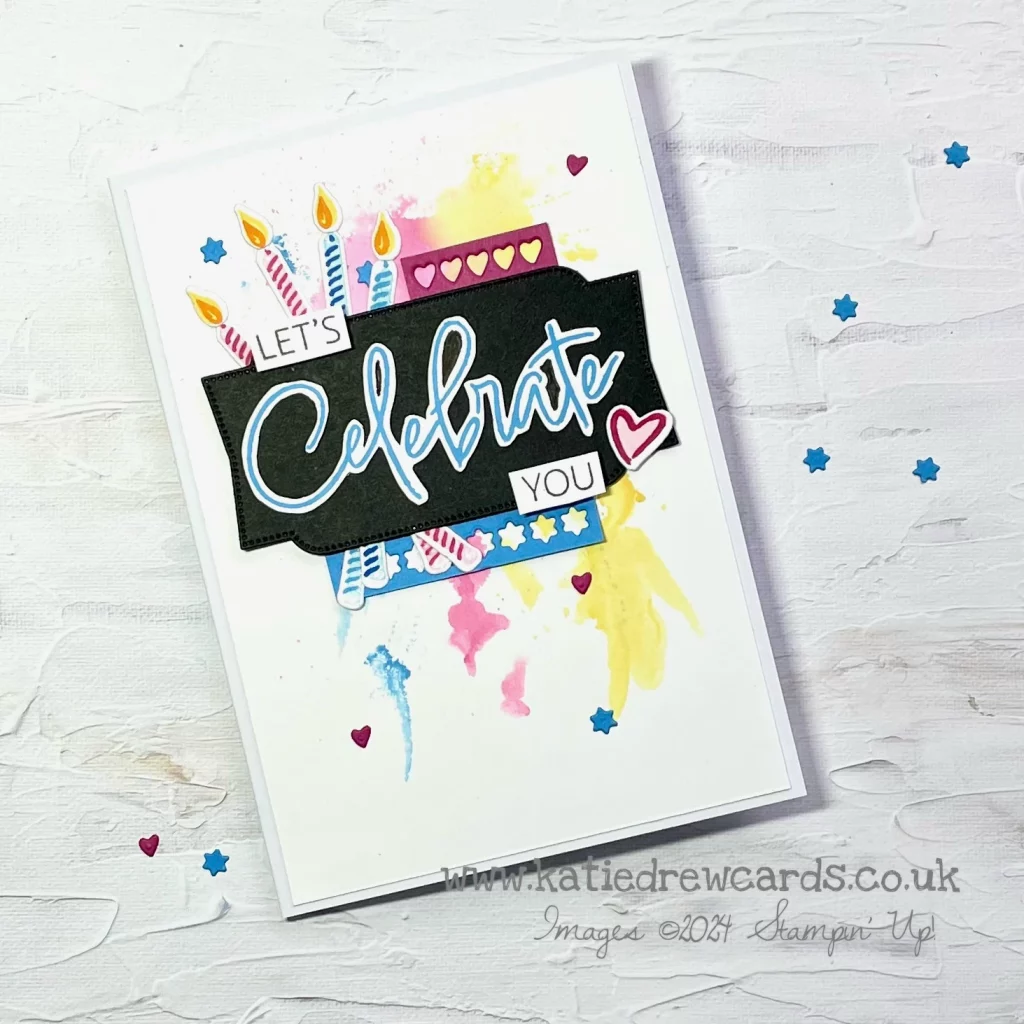
I have chosen to CASE a card created by Katie Drew Cards. I love the design and colours used for this project. The black label against the watercolour background really does pop and the colours bring me joy. Katie’s card was created for the Global Design Project CASE the designer challenge #GDP460. Do check out Katie’s creations.
CASE A Friend
Trim a piece of Fluid 100 watercolor paper to 10cm x 14.4cm. Spritz with water to dampen, this allows the ink to move easier. I added Berry Burst ink to a block and added water to the ink, you may have a preferred method for doing this. Using a water painter, add the watered ink to your paper, keeping it to the middle. Allow the ink to run and spread. You can add more ink if need. When you are happy with the colour/coverage allow to dry, I used my heat tool to speed things along.
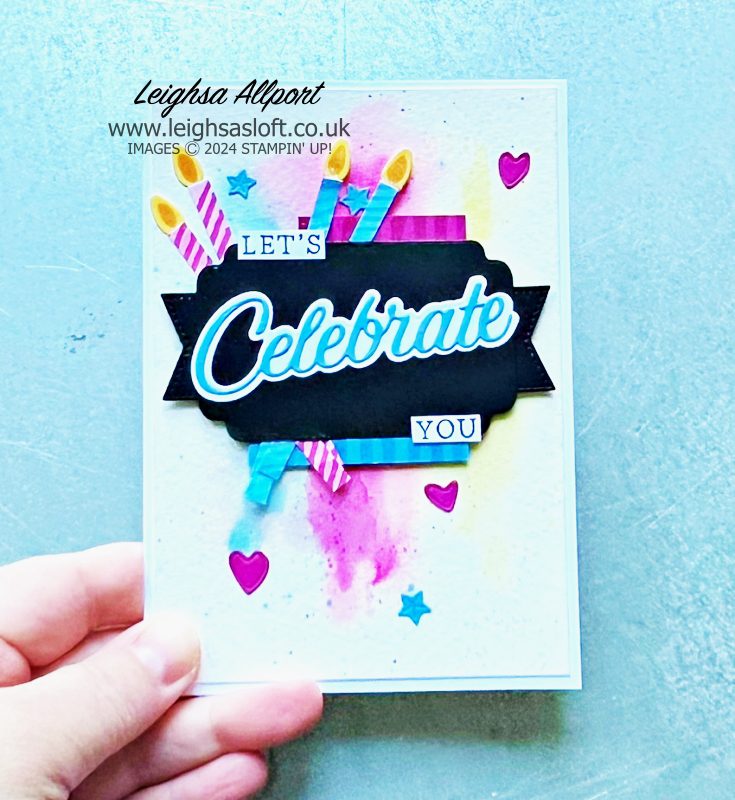
Repeat spritzing your paper, adding ink and drying for Azure Afternoon and Daffodil Delight to either side of the Berry Burst. After you have your base colour, add splatters of each colour. I used my Stampin Blends, flicking the brush nib on the edge of the lid. Set aside to allow to dry.
From Basic Black cardstock die-cut a banner, using the Stylish Shapes Dies and a label from the Something Fancy Dies. Adhere your banner behind your label. Using the Wanted To Say Dies, die-cut ‘Celebrate’ from Azure Afternoon and Basic White cardstock. Adhere together and onto your Basic Black label.
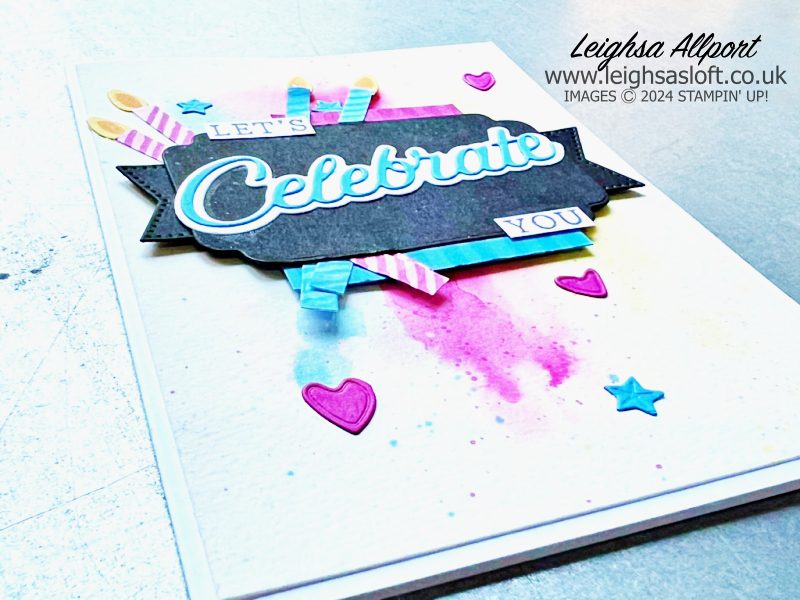
Also using the Wanted To Say dies, die-cut hearts and stars from Azure Afternoon and Berry Burst cardstock. Use your snips to fussy cut these part. Set these aside to add later.
Using four scraps of Basic White cardstock, approx. 5mm x 10cm, create striped candles. I coloured my cardstock with watered ink to give a pale tone and, once dry, used a blend to draw stripes. Cut these to create four pieces of each colour, they do not need to be the same length, it is better if they are not. For the flames of the candle, die-cut Daffodil Delight cardstock using the larger raindrops die from the Bright Skies Dies. Add inner detail using a blend.
Cut a strip of Azure Afternoon, measuring 1cm x 6cm, and draw lines across. Reapeat with a piece of Berry Burst, measuring 1cm x 4.5cm. Add these to the back of your Basic Black label. Using Stampin’ Dimensionals add your label to your watercolour background. Place in your ‘candles’, trimming to size if needed, and glue into place. Don’t forget to add your flames to the top.
Stamp ‘LET’S’ and ‘YOU’ onto Basic White cardstock, using Memento Tuxedo Black ink. I used two stamps from the Simply Said stamp set and trimmed them to size. Adhere these to your label.
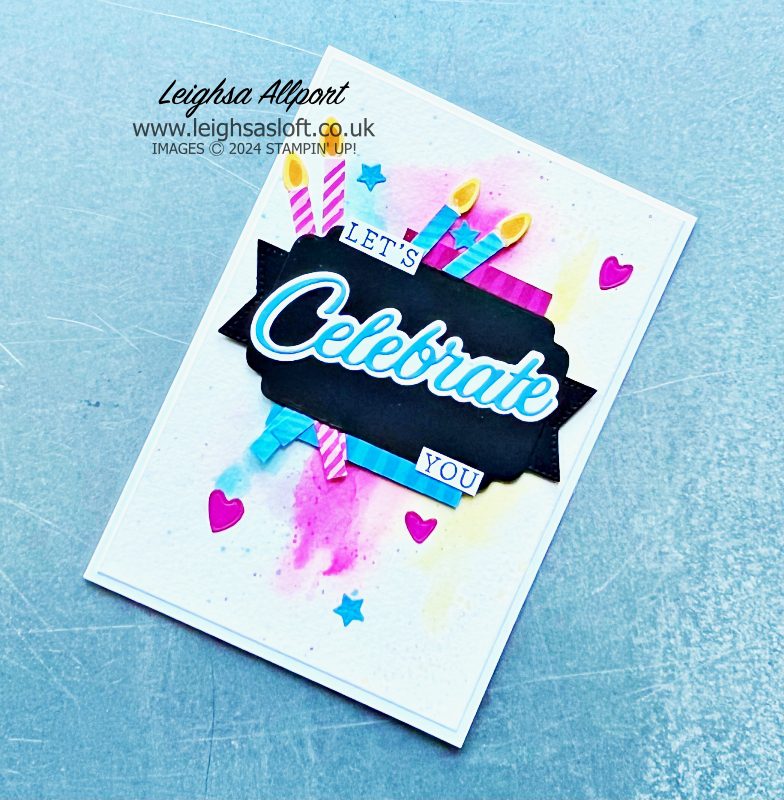
Create an A6 cardbase, measuring 10.5cm x 14.9cm, using Basic White Thick cardstock. Adhere your card front to your cardbase using Multipurpose Liquid Glue. Finish your card by adding your hearts and stars, and splatters of Wink Of Stella.
I hope I have inspired you to try CASEing A Friend or this card. All the products used are listed below and available to purchase from my online store.
Please do continue to hop round for lots more creativity and inspiration. I can’t wait to see what the other demos have chosen to share with you.
Happy Crafting
- JOINING OFFER– Stampin’ Up! Starter Kit, choose 175€ I £130 worth of product for only 129€ I £99! PLUS, you will also receive a free business supplies pack and free shipping on your Starter Kit—not to mention all the fun that comes with being part of Stampin’ Up! Plus, enjoy discount on future purchases, and have lots of fun with new friends.
- Grab a bargain at the LAST CHANCE PRODUCTS – Up to 60% off normal prices, while stocks last.
- Visit my ONLINE STAMPIN’ UP! SHOP to browse all the various products on offer, including Online Exclusives and Kits Collection.
- Why not follow me on Facebook for lots of crafty inspiration and weekly lives – Leighsa’s Loft.
 |  |  |  | |
 |  | |||
 | ||||
 |  |  |  |  |
")


Love, love, love your card and so thrilled you chose to CASE mine?