
Hello and welcome to Februarys Tech 4 Stampers blog hop. This month’s theme is Vellum, there are so many ways that you can use vellum in card making. In the past I have used to soften a background, which may have been a bit overpowering, to provide a separation between background and focal image. I have also used it with Stampin’ Blends and Alcohol to create a background. I am sure you can think of many more.
Today’s card uses vellum as part of my main image. I have created a double gate fold card featuring the Bee Mine Suite and vellum makes for the perfect wings on my bee.
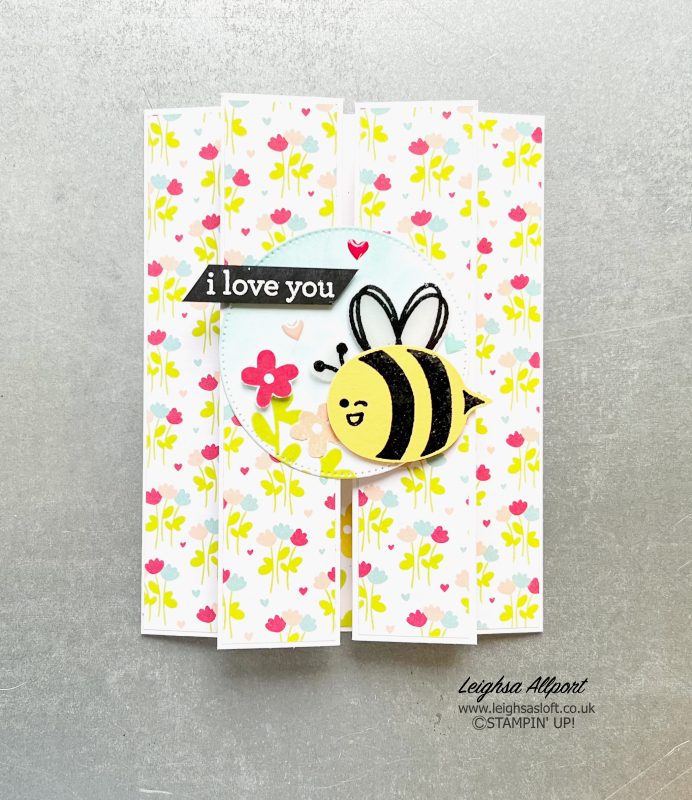
Creating your Double Gate Fold Card
Cut a piece of Basic White Thick cardstock, measuring 28cm x 14.9cm. Score at 3cm, 8.5cm, 19.5cm and 25cm. Fold your first score mountain, second valley, third valley and fourth mountain.
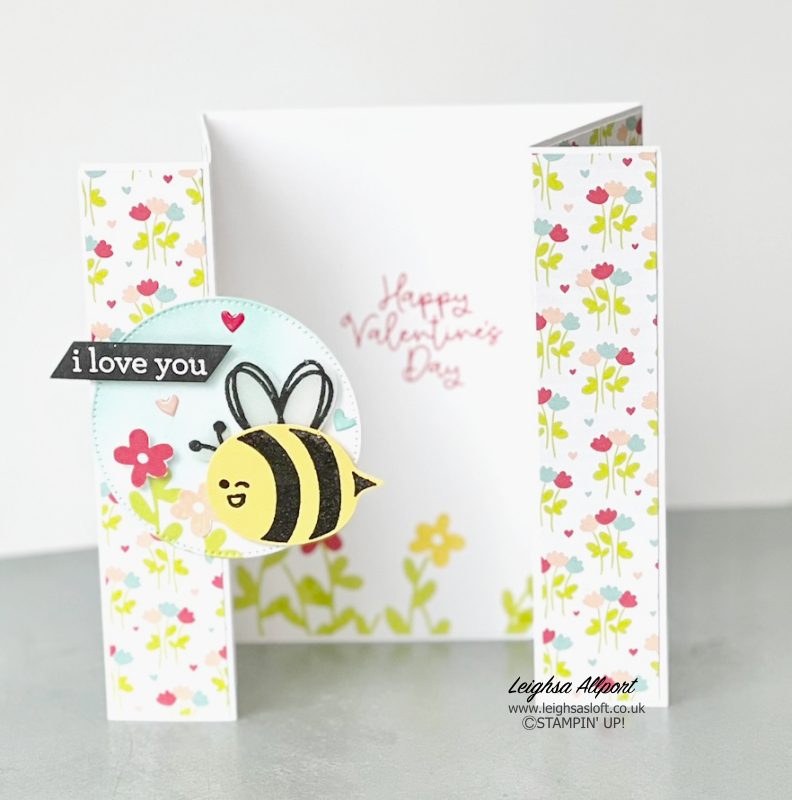
Trim two pieces of DSP (designer Series Paper) to 2.5cm x 14.4cm and two pieces to 5cm x 14.4cm. Adhere to your front panels. Cut a piece of Basic White cardstock, measuring 10.5cm x 14.4cm, and stamp flowers, stems, and sentiment. Adhere to your inside middle panel.
Die cut the second largest circle, using the Stylish Shapes Dies, from Basic White cardstock. Using Balmy Blue ink and a Blending Brush, add a hint of colour to the top two thirds of the circle. Stamp two flower stems to the bottom.
Using black emboss powder, heat emboss your bee stripes and face onto Daffodil Delight cardstock and wings and antennae onto vellum. Punch out, using the Bee punch. Adhere your wings and antennae to the reverse of your bee. Use Stampin’ Dimensionals to adhere your bee to your circle.
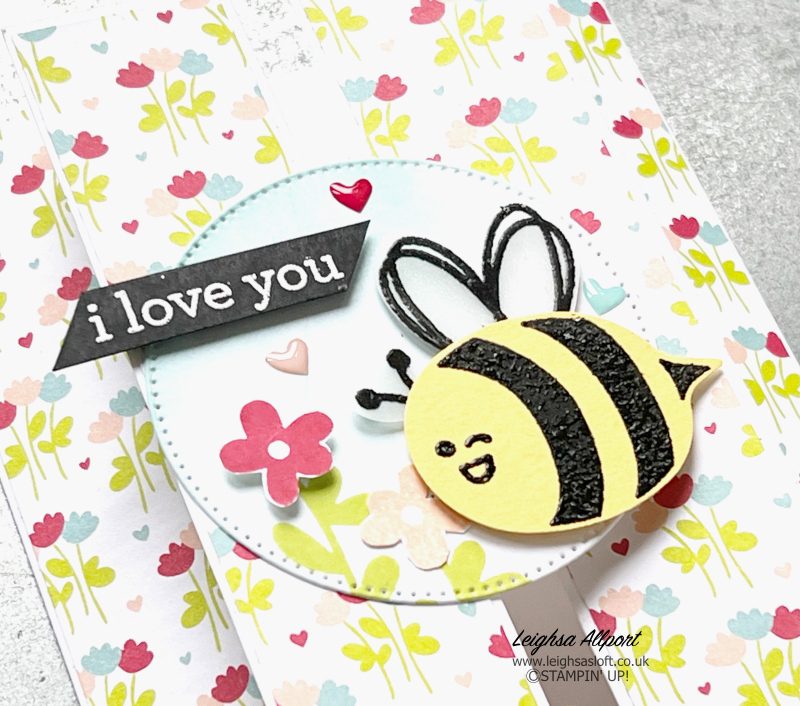
Stamp a couple of flower heads on to Basic White cardstock and fussy cut. Adhere to the top of your flower stems, I added one flat and one with dimensionals. Attach your circle to your card by adding adhesive to only half of the rear.
To finish your card, heat emboss a sentiment in white onto Basic Black cardstock and trim to size. Add using dimensionals and embellish with hearts from the Adhesive-backed Hearts & Flowers.
I do hope you have found some inspiration with me. All products used are listed below and available to purchase from my online shop.
Please do continue to hop round for lots more inspiration.
Happy Crafting

PLEASE NOTE – The Product List links may nolonger direct you to the correct place, this is due to a change in my Demonstratorship. If you wish to purchase or take a closer look, please use the Shop Button below.

FREE Tutorial Bundle with ALL Online Orders from my Stampin’ Up!® Shop!
Learn more.
- JOINING OFFER– Stampin’ Up! Starter Kit, pay £95 and receive a £125 coupon code to spend on your favourite products! PLUS, you will also receive a Get Started Bundle —not to mention all the fun that comes with being part of Stampin’ Up! Plus, enjoy discount on future purchases, and have lots of fun with new friends.
- Grab a bargain at the LAST CHANCE PRODUCTS – Up to 60% off normal prices, while stocks last.
- Visit my ONLINE STAMPIN’ UP! SHOP to browse all the various products on offer, including Online Exclusives and Kits Collection.
- Why not follow me on Facebook for lots of crafty inspiration and weekly lives – Leighsa’s Loft.
 | ||||
 Lemon Lime Twist Classic Stampin’ Pad [144086] £6.00 |  |  |  |  |
 |  |  |  |  |
")


Love your card! Great job!
Gorgeous card Leighsa. Love the use of Vellum for wings! x
Great card, great way of using Vellum! Tfs!
Lovely! I love a gatefold and the vellum is perfect.
I love the fancy fold card. It is a fantastic way to use the vellum.
Lovely card and great use of the vellum for the wings and antennae. Thank you for sharing.
Thank you x