Hello, for todays blog I am joining with the Global Design Project #GDP281. We have been given a colour challenge and I knew straight away that I wanted to create an Ombre Background.
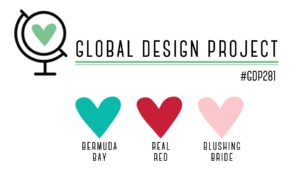
I love this colour combo, it is bright and soft together. It makes me feel so happy and loved. ‘Real Red’ and ‘Blushing Bride’ is a winning combo, but to add the gorgeous ‘Bermuda Bay’ just makes it such fun.
Ombre Background Happy Birthday Card
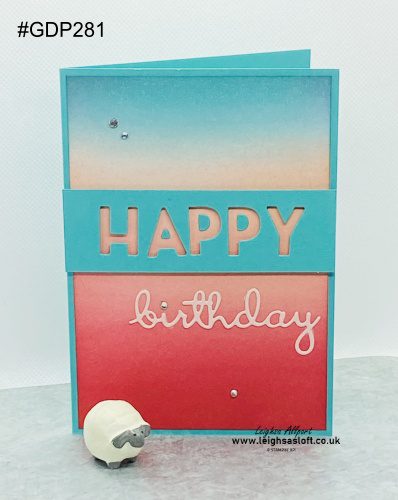
Create an A6 card base, measuring 10.5cm x 14.9cm, from ‘Bermuda Bay’ cardstock. Cut a ‘Basic White’ cardstock layer, measuring 10cm x 14.4cm. Using a ‘Sponge Brayer’ and ‘Blushing Bride’, ‘Blushing Bride’ and ‘Real Red’ ink, create an ombre background.
Lay down your ‘Brushing Bride’ ink to cover 3/4 of your ‘Basic White’ layer. Ensuring the colour is lighter to the top end. Next lay down your ‘Real Red’ ink from the bottom and blend into the ‘Blushing Bride’, to create a seamless join. Finally add your ‘Bermuda Bay’ ink from the top and blend into the ‘Blushing Bride’. Adhere to your card base.
DO NOT FORGET
Always remember to start with your ‘Sponge Brayer’ off your layer piece and roller fully across, to ensure an even coverage. I use a different ‘Sponge Brayer’ for each colour of ink, so that I can go back over any areas that I think need more blending.
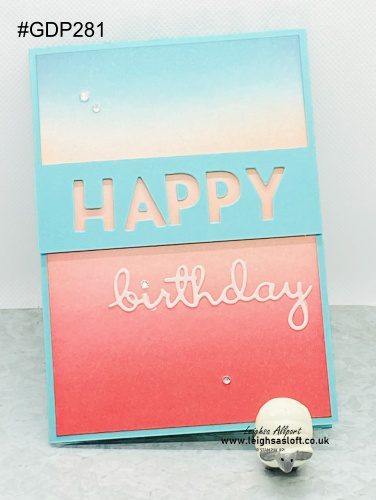
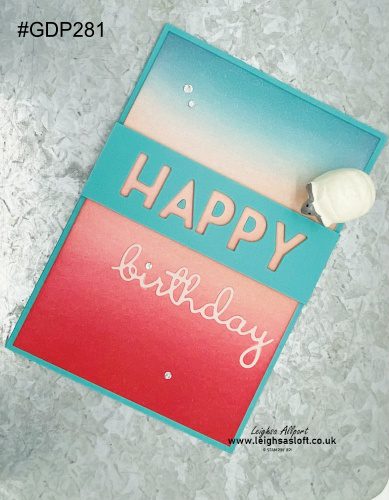
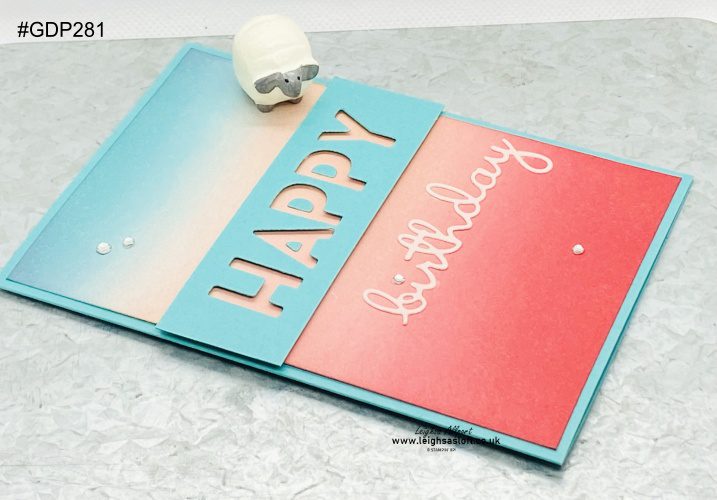
Trim a piece of ‘Bermuda Bay’ cardstock to 10.5cm x 3.5cm, for a banner and die cut the word HAPPY from the middle, using the ‘Playful Alphabet Dies’. Make sure you keep all the piece from the middles of the letters. The letters can be kept for another project. Adhere your banner to your card front, using ‘Stampin Dimensionals’. Adhere the centre pieces, of the A and Ps, flat on your ombre background.
Die cut the word BIRTHDAY from a piece of ‘Blushing Bride’ cardstock, using the ‘Well Written Dies’, and adhere below your banner.
Finish your card by adding a ‘Rhinestone Basic Jewels’.
I hope you have found some inspiration from my project. All products used are available from my online shop.
Happy Crafting
Leighsa
- JOINING OFFER– Stampin’ Up! Starter Kit, pay £95 and receive a £125 coupon code to spend on your favourite products! PLUS, you will also receive a Get Started Bundle —not to mention all the fun that comes with being part of Stampin’ Up! Plus, enjoy discount on future purchases, and have lots of fun with new friends.
- Grab a bargain at the LAST CHANCE PRODUCTS – Up to 60% off normal prices, while stocks last.
- Visit my ONLINE STAMPIN’ UP! SHOP to browse all the various products on offer, including Online Exclusives and Kits Collection.
- Why not follow me on Facebook for lots of crafty inspiration and weekly lives – Leighsa’s Loft.