Hello, thank you for stopping by and allowing me to inspire you to get creative! Today I would like to share with you how a embossed background can add that wow factor, full of texture. I created this card for the Global Design Project #GDP375. This week we have a theme challenge.

Being given a theme allows you to interpret as you wish and let your imagination run wild. The party theme can be shown in so many ways, I have chosen to take it literally and created a partying owl, with a sparkling embossed background.
Embossed Background for a Celebration Card
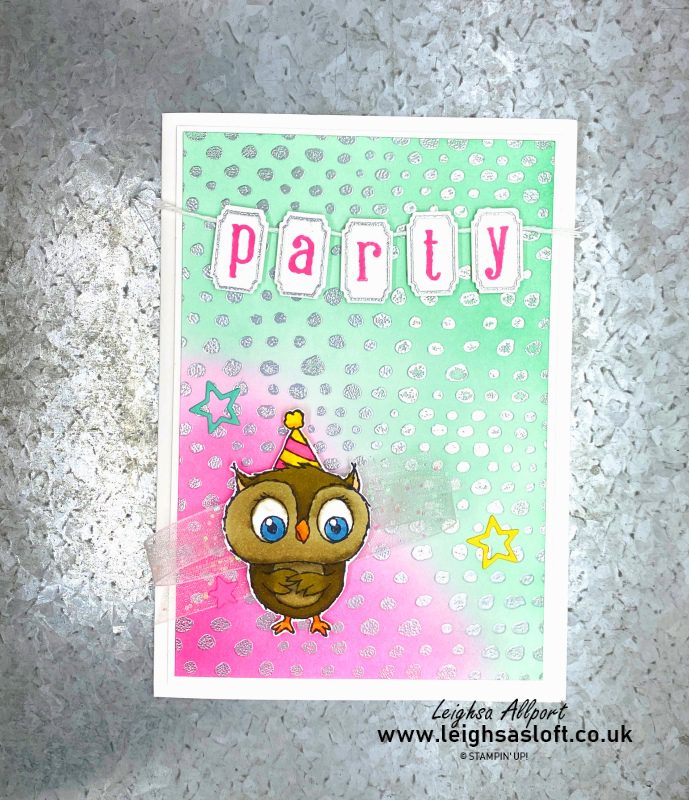
Cut a piece of Basic White cardstock approximately 10cm x 14.5cm. Add Coastal Cabana and Polished Pink ink, using a Blending Brush, to opposite corners and allow to dry. Use an Embossing Buddy to ensure no residue is present. Using Versamark ink, ink up Hand-drawn Dots background stamp and stamp onto your blended background. Sprinkle with Silver Embossing Powder and shake off excess. Heat until all powder is melted and trim edges, leaving you with an embossed background panel measuring 9.4cm x 13.8cm.
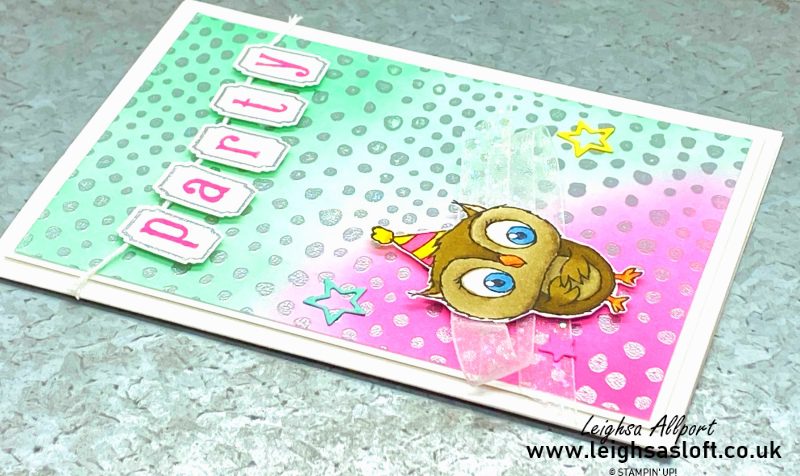
Adhere your embossed background onto a piece of Basic White cardstock, measuring 9.8cm x 14.2cm. Create an A6 cardbase from Thick Basic White cardstock, measuring 10.5cm x 14.9cm. Adhere your matted embossed background onto your cardbase.
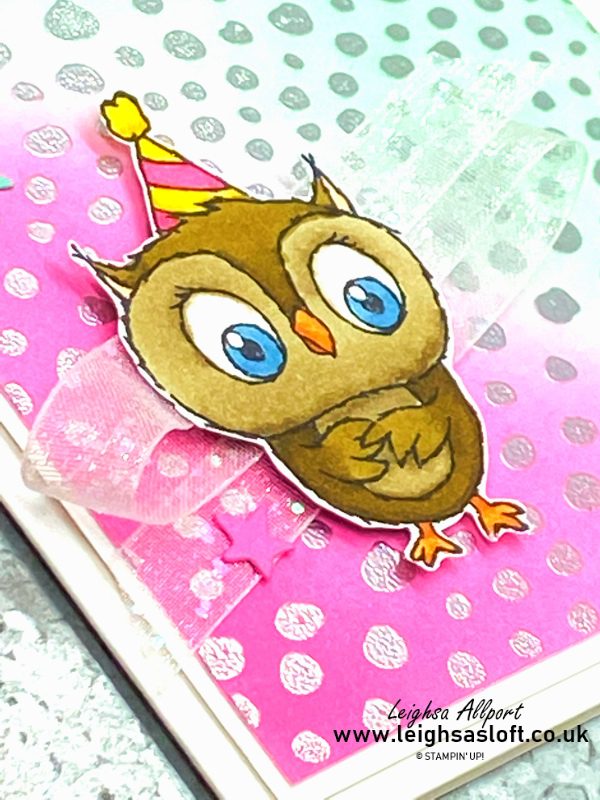
Stamp your owl image onto Basic White cardstock, using Memento Tuxedo Black ink. Colour your image using Stampin’ Blends and add Wink of Stella to the hat. I have used Balmy Blue, Crumb Cake, Daffodil Delight, Polished Pink, Pumpkin Pie, and Soft Suede combos. Fussy cut around the image. Place a swoosh of White Glittered Organdy Ribbon behind your owl and adhere into place with Tear & Tape Adhesive. Add several Stampin’ Dimensionals and add to your card front.
Using the Alphabest stamp and punch bundle, heat emboss frames onto Basic White cardstock, using Versamark ink and Silver Embossing Powder. Stamp each letter of party into each frame, using Polished Pink ink. Punch out each element. Using Stampin’ Dimensionals, adhere across your card front. Attach a piece of white Bakers Twine behind each piece with a Mini Glue Dot.
Finishing Touches.
Die cut little stars from the Coastal Cabana, Daffodil Delight and Polished Pink cardstock, using the Sentiment Silhouettes Dies, and adhere to your card front.
I do hope I have inspired you to get creative. All products used are listed below and available in my online shop.
Happy Crafting

- JOINING OFFER– Stampin’ Up! Starter Kit, pay £95 and receive a £125 coupon code to spend on your favourite products! PLUS, you will also receive a Get Started Bundle —not to mention all the fun that comes with being part of Stampin’ Up! Plus, enjoy discount on future purchases, and have lots of fun with new friends.
- Grab a bargain at the LAST CHANCE PRODUCTS – Up to 60% off normal prices, while stocks last.
- Visit my ONLINE STAMPIN’ UP! SHOP to browse all the various products on offer, including Online Exclusives and Kits Collection.
- Why not follow me on Facebook for lots of crafty inspiration and weekly lives – Leighsa’s Loft.
 |  |  | ||
 |  |  | ||
 |  |  |  |  |
 |  |  |
")
 Glittered Organdy Ribbon")